


 Social Media Post Builders
Generates platform-specific posts, illustration with engaging hashtags. For Facebook, Twitter, LinkedIn, and Instagram.
LinkedIn Post Master
Crafts engaging and SEO-optimized LinkedIn posts like a 15-year LinkedIn pro.
X Thread Expert
Generates structured, engaging Twitter threads with facts, hashtags, and a clear CTA.
Instagram Caption Creator
Instagram caption that gets engagement. Includes Hooks, Hashtags and CTA.
Engage Social Manager
A savvy social media manager who builds engagement and analyzes performance across platforms.
Email Catalyst
Crafts punchy, engaging emails that drive clicks and action with humor and finesse.
Email Marketing Specialist
Expert at creating lead-converting email sequences with targeted research.
TikTok Script Creator
Generates fun and viral TikTok video scripts for trending content.
Effortless TikTok Success
Helping you succeed on TikTok with trending content and easy monetization tips.
Youtube Script Master
Generate professional video scripts, SEO-optimized titles, descriptions, tags, hashtags, and thumbnails.
YouTube SEO Pro
For one keyword, generate 15 SEO-optimized clickbait YouTube titles, descriptions, tags, and hashtags. All in a single click!
Ad Campaign Specialist
A marketing expert creating tailored ad campaigns for products and services..
Viral Blog Title Generator
Creates viral blog post titles with compelling hooks For Conversion
SEO Content Planner
Create SEO-focused 30-day content calendars for ranking long-tail keywords.
Expert Article Writer
Optimized for Yoast and Rank Math SEO | Craft a 100% Unique, Plagiarism-Free Content | Includes Title, Meta Description, and Properly Structured Headings from H1 to H6 | Detailed Article of up to 2000 Words with FAQs and a Conclusion.
SEO Article Master
SEO and copywriting expert focused on creating top-ranking articles for Google.
Midjourney Prompter
Generates detailed prompts for Midjourney image creation.
Design Course Creator
Create the Best Course with Just One Click.
Product Description Generator
Crafts SEO-rich, persuasive product descriptions with keyword optimization.
Ad Hook Generator
Generate compelling hooks for ads using persuasive copywriting.
Persona Researcher
Builds detailed user personas for businesses in specific markets.
Logo Genius
Generates logos based on style preferences and customization options.
Freelance Gig Optimizer
Expert in creating Fiverr Gigs with titles, thumbnails, video scripts, and package details.
Quick PPT Maker
Generate PPT Template With One Click.
Humanizer
Transforms AI text to mimic human writing at various education levels.


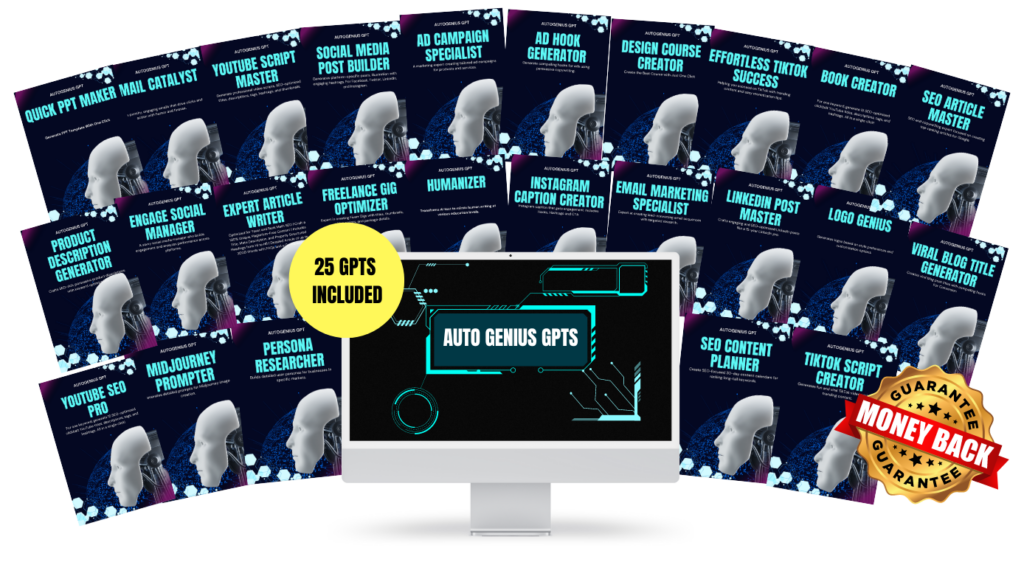


The AutoGenius GPTs are designed to cater to every business and every market, offering a flexible, scalable solution to content creation. Whether you’re a coach, a digital marketer, or a local store owner, these GPTs deliver high-converting content that meets your specific needs.Here’s how businesses across industries are already using AutoGenius GPTs to save time and scale faster:
| Course Creators Coaches & Consultants Agencies & Freelancers Digital Product Sellers Speakers & Experts Authors & Bloggers | Ecommerce Stores Service Businesses B2B Companies Local Stores Professional Services Contractors | Network Marketers Digital Marketers Copywriters Affiliates Email Marketers …PLUS WAY MORE! |