Have you ever dreamed of creating your own movies, animations, or video games without any coding or design skills? Imagine being able to turn your text into stunning visuals with just a few clicks. Sounds too good to be true, right?
Well, not anymore. Thanks to Pika Labs, a powerful text-to-video platform that can unleash your creativity simply by typing, you can now make your own cinematic AI videos in minutes. Whether you want to tell a story, explain a concept, or showcase a product, Pika Labs can help you create captivating videos that will wow your audience.
In this article, we will show you how to use Pika Labs to craft spellbinding cinematic AI videos with ease.
Part 1: Crafting Your Trailer Story 🎬
Step 1: Scripting with ChatGPT
To kick things off, you'll need a script or a storyline. ChatGPT, an AI model by OpenAI, can be your go-to scriptwriter. Just feed it a prompt like:
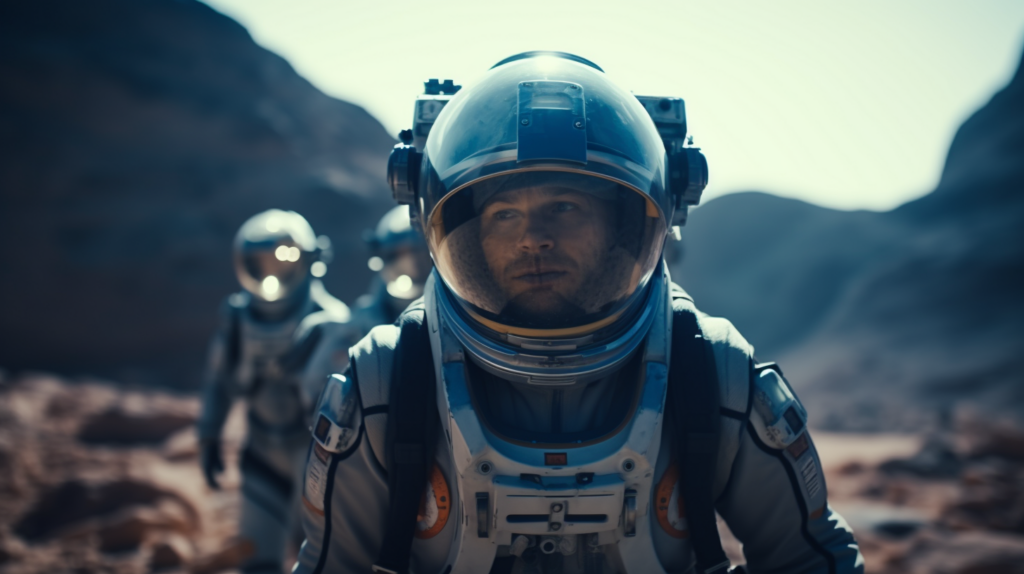
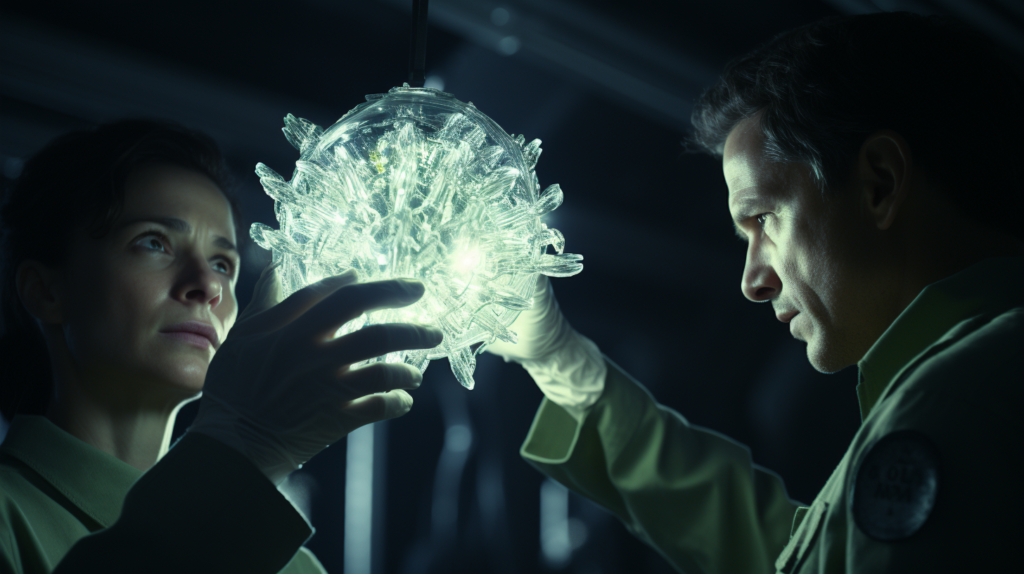
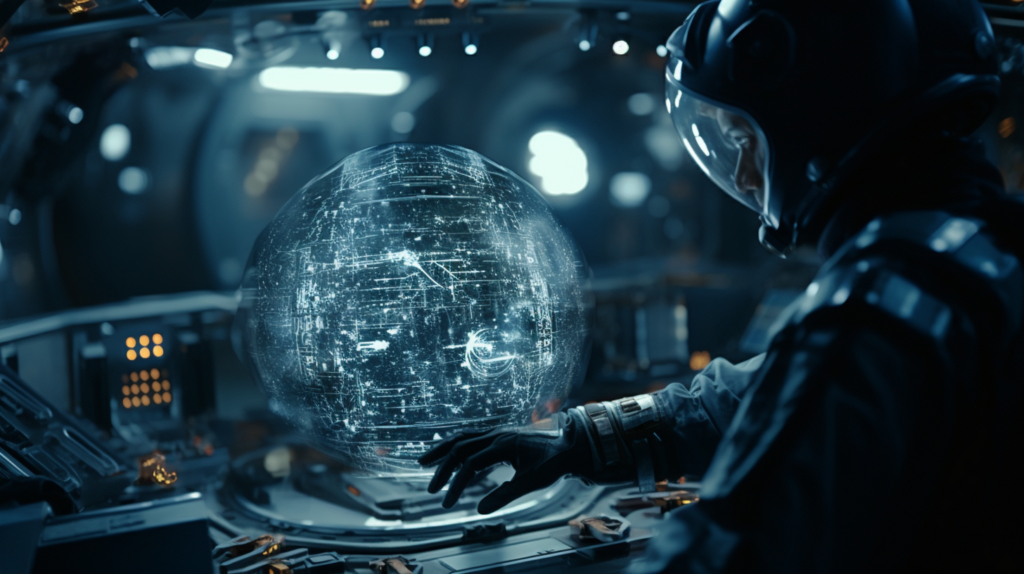
Forget everything before. Act like a professional trailer scriptwriter Create a sci-fi movie trailer about Aliens, planetary exploration, mysterious creatures.
And voila! You'll have a script ready to be transformed into a cinematic masterpiece.
Step 2: Breaking It Down
Once you have your script, break it down into scenes and frames. This makes it easier for your audience to follow along. Don't forget to add dialogue, narration, sound effects, and background music where necessary.
Forget everything before. Act like a professional trailer scriptwriter.
Let's divide trailer the above into scenes and frames.
According to structure
Scene [Number]: [Name]
Frame [Number]: [Frame description]

The trailer should include dialogue and narration if necessary. Then Set sound effects for frame.
Part 2: Creating Cinematic Images 🎥
To make your trailer truly cinematic, you'll need captivating images. Midjourney's image generator is a fantastic tool for this. Here's how to structure your prompts:
Prompt Structure
[Cinematic], [Photo description], [Parameters]
Example: Cinematic, muted tones, film grain - Emma's hand reaching into a dusty old box, fingertips brushing against the ancient amulet, capturing the curiosity and intrigue of her discovery, in a close-up composition --ar 16:9 --style raw
1. Cineamtic: Emphasize cinematic elements such as Cinematic, muted tones, film grain, etc.
2. Photo description: Include [Subject], [Environment], with [Lighting], in [Color], evoking a [Mood], in a [Camera Angle]
- Subject: Specify the person, animal, character, location, or object.
- Environment: Decide if it's indoors, outdoors, on the moon, in Narnia, underwater, or elsewhere.
- Lighting: Select soft, ambient, overcast, neon, studio lights, etc.
- Color: Indicate if it should be vibrant, muted, bright, monochromatic, colorful, black and white, pastel, etc.
- Mood: Describe the desired mood as sedate, calm, raucous, energetic, etc.
- Camera Angle: Specify the composition style, like portrait, headshot, closeup, birds-eye view, etc.
3.Parameters: --ar 16:9 --style raw
And important parameters such as:
-ar 16:9 [your choice of aspect ratio],
--style raw [if you don't want to use default Midjourney Aesthetics].
--c value [short for: --Chaos, Change how varied the results will be. Higher values produce more unusual and unexpected generations, value range= 0–100].
--s value [if you want to use default Midjourney Aesthetics, value range= 0 - 1000]
--w value [short for: --weird, brings unconventional results, value range= 0 - 3000]
--w value --s value [default Midjourney Aesthetics with an unconventional touch]
Prompt1 :
Forget everything before.
You shall become an expert at crafting prompts (text descriptions) for the image generator Midjourney. To excel in creating prompts for the Midjourney image generator, remember these key guidelines:
Always start with "Frame [Number]: /imagine prompt:"
Begin with "cinematic, muted tones, film grain" as the first elements.
Prioritize descriptive words over grammar words. Be specific.
Organize with commas, brackets, and hyphens when necessary.
 Describe what you want, not what you don't want.
Concentrate on essential concepts. Include context and details.

Template for prompts:
 [Subject], [Environment], with [Lighting], in [Color], evoking a [Mood], [Camera Angle].
Fill in the brackets with specific details:
- Subject: Specify the person, animal, character, location, or object.
- Environment: Decide if it's indoors, outdoors, on the moon, in Narnia, underwater, or elsewhere.
- Lighting: Select soft, ambient, overcast, neon, studio lights, etc.
- Color: Indicate if it should be vibrant, muted, bright, monochromatic, colorful, black and white, pastel, etc.
- Mood: Describe the desired mood as sedate, calm, raucous, energetic, etc.
- Camera Angle: like portrait, headshot, closeup, birds-eye view, etc.

You can also include emotions or environments as needed, such as tundra, desert, mountain, etc.
Craft creative prompts with unexpected keyword combinations. Feel free to invent your own words. Keep prompts consistent within a theme; avoid multiple settings. Be prepared for further instructions regarding style or content.
Example: Cinematic, muted tones, film grain - Emma's hand reaching into a dusty old box, fingertips brushing against the ancient amulet, capturing the curiosity and intrigue of her discovery, in a close-up --ar 16:9 --style raw

Now, Use the suggestions above to create prompt that describes still images to each frame in the script trailer I provided. Then   Add "--ar 16:9 --style raw" to the end of every sentence.
Request rewriting chatgpt describes any frame.
Prompt2:
Please rewrite the description for Frame [Number] with 3 different versionsPart 3: From Cinematic Images to Video 📹
When it comes to converting these images into videos, Pika Labs is a game-changer. It's free and incredibly user-friendly. Just type /animation and upload your cinematic image. You can even use ChatGPT-generated frame descriptions as prompts for Pika Labs.
PIKA LAB INFO
Default values:
- +-motion or -m = 1 (Number between 0~4, default is 1)
- -fps = 24 (Minimum 8, maximum 24, default is 24. The higher, the smoother your video)
- -gs = 12 (Recommended numbers between 8-24, default is 12)
- -ar = 16:9 (Options: 16:9, 9:16, 1:1, 4:5)
- -seed ### (Use for more consistent generation. Currently, fixing seed ONLY guarantees consistency when both the prompt and negative prompt are unchanged)
Prompt Structure:
- /create prompt: + Description of the video you want to create + Optional parameters
- /create prompt:[positive prompt] -neg "[negative prompt]" -ar XX -motion X -gs X -fps X -camera
Pro Tips for Video Creation
Creating a captivating scene is crucial for achieving cinematic results. You can control the action and camera movements using text prompts. Here are some commands you can use:
- Guidance Skill: The default Guidance Skill is set to 12 (recommended range is between 8 and 24). Increasing it, for instance, by using '-gs 20,' improves adherence to the provided prompt and reduces deviations.
- Camera Movement: Use commands like "camera zoom in", "camera zoom out", "pan right", "pan left" and "rotate cw" etc to direct the camera's movements.
- Motion Control: Adjust motion values (0, 1, 2, 3, 4) to control video speed and observe how it affects pacing.
Imagine yourself in the character's context, considering angles and movements. Then, feel free to combine these parameters to craft an enticing scene. Once you've created a video that satisfies you, you can proceed to download it
Part 4: Lip-Syncing 🎤
For lip-syncing, Elevenlabs AI and Wave2Lip are your best friends. Elevenlabs AI generates the voiceover, and Wave2Lip syncs it perfectly with your character's lip movements.
Elevenlabs AI is an online platform that lets you generate realistic and expressive voiceovers for your videos. You can choose from different voices and styles, and download the audio file.
Wave2Lip is a Google Colab app that syncs your voiceover with your character’s lip movements. You just need to upload your video and audio files, and run the code blocks.
Here are the steps to follow:
- Go to Elevenlabs AI and create a project. Select a voice and a style for your video. Type or paste your script, and click “Generate”. Download the audio file when it’s ready.
- Go to Wave2Lip Colab notebook and click “Connect”. Run the code block labeled “Step 1” to install the packages.
- Run the code block labeled “Lip-sync on Your Video File” and upload your video file.
- Run the code block labeled “STEP 3: Select Audio” and upload your audio file.
- Run the code block labeled “STEP 4” to generate the lip-synced video. Download it from the wav2lip-HD/results folder.
The video quality may not be very good at this point, but don’t worry. In the next section, I’ll show you how to enhance it.
Part 5: Enhancing Video Quality 🌟
Hitpaw Video Enhancer is software that utilizes artificial intelligence to enhance video quality. You can use it for upscaling, denoising, colorizing, stabilizing, or interpolating your videos. Follow these steps to use Hitpaw Video Enhancer:
Download and install Hitpaw Video Enhancer from their official website or by clicking the download button below.
Launch the software and click the 'Choose File' button to import the video you want to enhance. Alternatively, you can drag and drop the video file into the software.
Select one of the seven AI models based on your video type and preferences. You can preview the model by clicking the 'Preview' button.
Click the 'Export' button to save the enhanced video as an mp4 file. You can also share it with others or further edit it.
Part 6: Final Edits with CapCut 🎞️
CapCut is a versatile and free video editor and graphic design tool that provides a wide range of features. It offers flexible editing options, supports teamwork, and includes a stock asset library. To use CapCut, follow these steps:
Launch the software and initiate a new project by importing the video clips you wish to edit.
Add all necessary audio components, such as sound effects, character dialogue, narration, and background music.
Utilize the toolbar to access various editing tools and apply them to your video clips.
Preview your movie and make any required adjustments to the timeline and effects.
Finally, export your finished movie.
Outro 🎬
And there you have it! Your very own cinematic AI video, crafted to perfection. If you found this tutorial helpful, don't forget to subscribe and stay tuned for more exciting content. Until next time, happy filming! 🎥
Liked this tutorial? Subscribe to AImoneygen for more amazing content on AI and technology!